


How to Start with your Barotrauma Dedicated Server on GameServerCentral #
Running your own Barotrauma dedicated server is the best way to enjoy stable multiplayer sessions with friends or your community. If you’ve just provisioned a server through GameServerCentral, you’ll notice it appears automatically under your GameServerCentral Control Panel once setup is complete.
However, there are two important configuration steps that are not immediately obvious but are essential to make your server visible and to grant yourself administrator rights.
Step 1: How to make your Barotrauma Server visible #
By default, a newly provisioned Barotrauma server is not publicly listed. To change this:
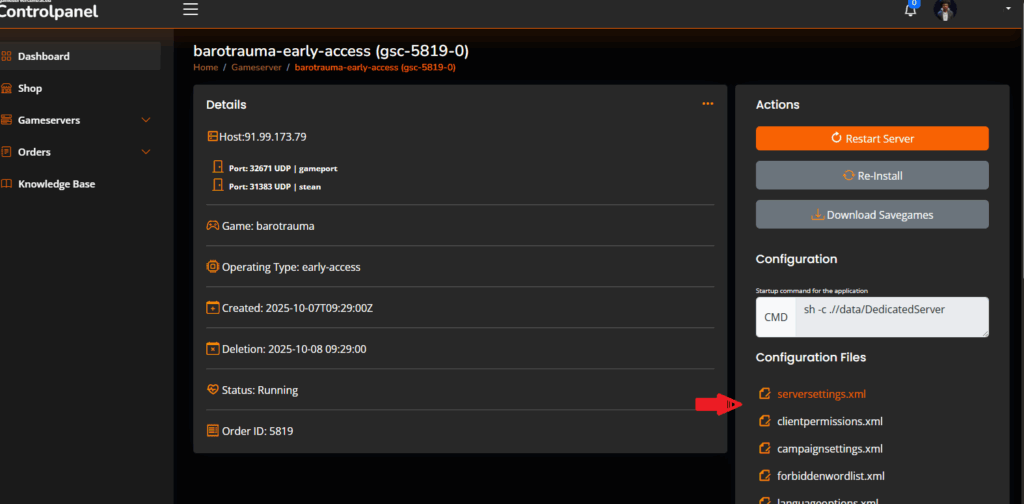
- Open the file
serversettings.xmlin your server configuration via the controlpanel.
- Locate the line:xml
IsPublic="True"If it is set to"False", change it to"True".
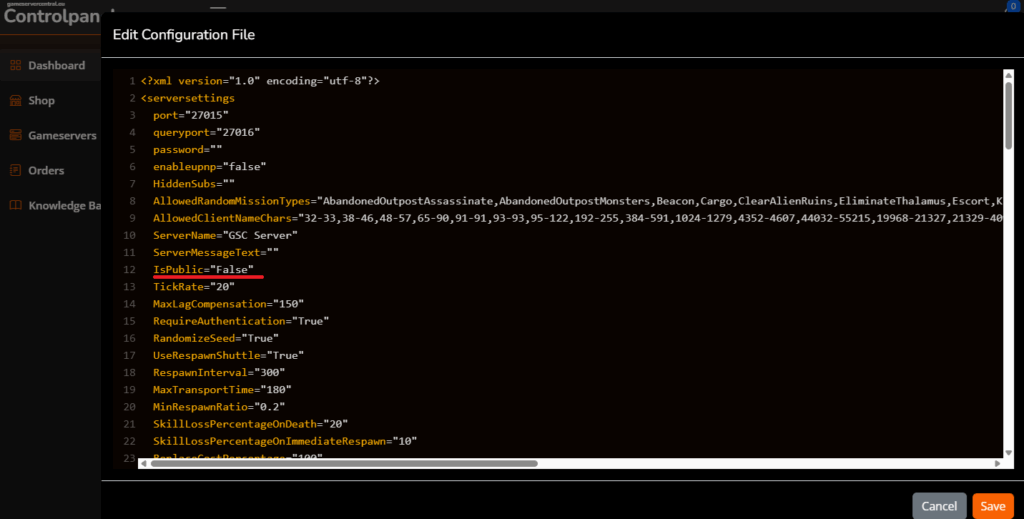
This ensures your server will appear in the in-game server browser and allows other players to find and join it.
Step 2: How to make you admin of your Barotrauma Dedicated Server #
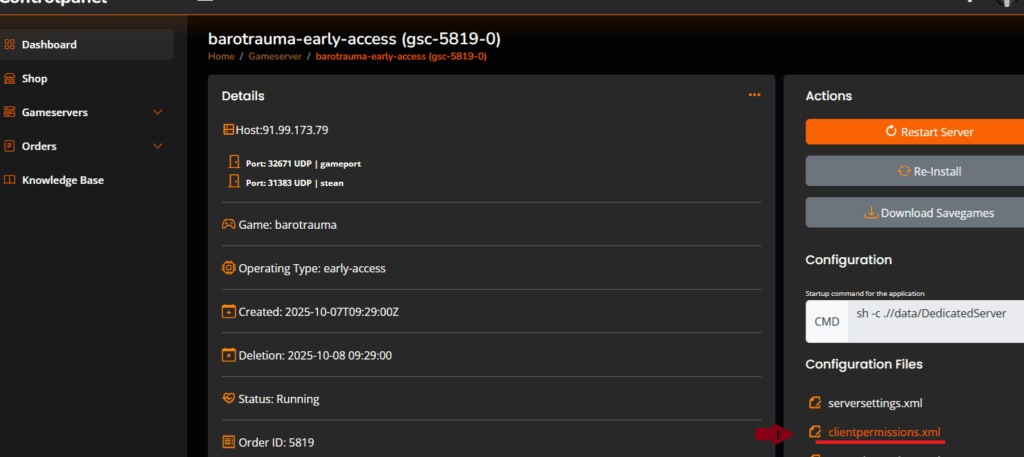
To gain full control of your barotrauma dedicated server and to be able to actually start the game/round, you need to edit the clientpermissions.xml file, similar on how you did with the serversettings.xml and for this you will need to have your Steam Account ID
How to find your Steam Account ID to make you admin in Barotrauma Dedicated Server #
To find your account ID:
- Launch Barotrauma.
- From the main menu, Multiplayer > host a local game.
- Press F3 to open the console, type clientlist and press enter (you also see your id at the top of the window)
- Copy the displayed account ID.

- Open The clientpermissions.xml via the controlpanel
Copy the content below and Replace STEAM_X:X:XXXXX with your own Steam account ID.:
<?xml version="1.0" encoding="utf-8" ?>
<ClientPermissions>
  <Client
      name="Admin"
      accountid="STEAM_X:X:XXXXX"
      permissions="All">
  </Client>
</ClientPermissions>- Put it into the configuration File and Press Save

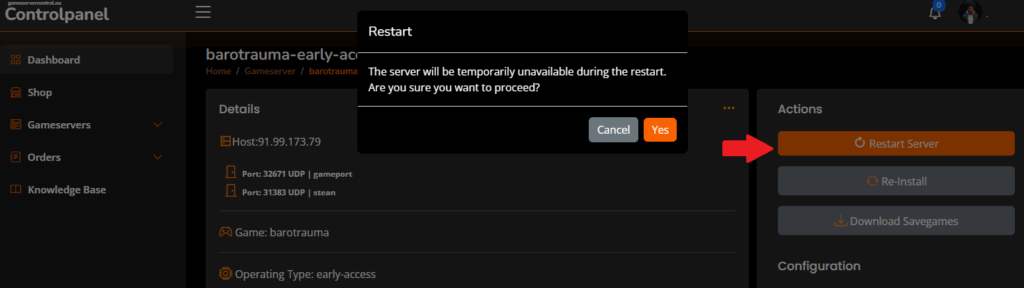
Step 3: Restart your Server #
Once saved, restart your server.
You will now have administrator privileges, allowing you to manage rounds, kick/ban players, and adjust settings directly in-game.
For more information for dedicated clientpermissions, you can also refer to https://barotraumagame.com/wiki/Clientpermissions.xml
Why These Steps Matter #
Without setting IsPublic="True", your server will remain invisible to others. Without editing clientpermissions.xml, you won’t have admin rights, making it impossible to manage gameplay effectively, or start your. These two adjustments are critical for anyone hosting a Barotrauma dedicated server on GameServerCentral.
Final Thoughts #
GameServerCentral makes it easy to provision and manage Barotrauma servers, but these two extra steps—enabling public visibility and assigning admin permissions—are essential for a smooth hosting experience. Once configured, you’ll have a fully functional, discoverable, and controllable server ready for deep-sea adventures.